
PCMag editors select and review products independently. We may earn affiliate commissions from buying links, which help support our testing. Learn more.
Home News Android
How to Take a Screenshot on Any Device
Here's everything you need to know about capturing screenshots, no matter the platform—Windows, macOS,
Chrome OS, iOS, Android, and even Linux.
By Jason Cohen
Updated June 10, 2020
If you need to preserve what you're seeing on your phone or computer screen, mobile and desktop
operating systems offer robust screen-capture tools. Most tools are built-in, but there are a wealthy of third-
party options, as well as browser extensions that also do the job. Here's how to take a screenshot on
Android, Chrome OS, iOS/iPadOS, Linux, macOS, and Windows.
Screenshots in Web Browsers
Find products, advice, tech news

How to Take a Screenshot on iPhone or iPad
If you own an Apple device that still has a Home button (like the 2020 iPhone SE), hold down the sleep/wake
button and press the Home button to take a screenshot. You will hear a camera shutter (if your sound is on)
and see a "flash" on the screen. The screenshot will then appear in your Camera Roll and in the Screenshots
album.
For devices without a Home button—the iPhone X and iPhone 11 lines, iPhone XR, and iPad Pro—hold down
the side button to the right of the screen (top button for iPad Pro) and the volume up button at the same
time.
Screenshot capture on iPhones with Touch ID and Face ID (Image: Apple)
ADVERTISEMENT
If you're using an Apple Pencil withiPadOS, you can take a screen grab with the drawing tool. Simply swipe
up from the bottom corner of the screen with the Apple Pencil to capture the image. You can also choose
between just your current screen or the entire page, even after the picture has been taken.

If you need to annotate a screenshot, tap the small thumbnail that appears at the bottom of the screen once
you capture a screenshot. This will open the device's markup tool and allow you to edit the screengrab.
Some apps may make it difficult to take screenshots through the normal means. This is where your
device'sbuilt-in Screen Recording toolcomes in. While its primary purpose is to record video of your screen,
you can pause the video and take a screenshot this way.
You can also use a third-party tool to capture the screen of your mobile device from a computer. With
theLonelyScreentool, you share your screen via AirPlay and record or take screenshots of anything on you
mobile device's screen from the computer. Apowersoft's iPhone/iPad Recorder can work as long as the PC
and mobile device are on the same Wi-Fi network. Activate the AirPlay connection in Control Center, then
record video and stills on a computer.
How to Take a Screenshot on Android
Android devices are not as uniform as iPhone and iPad, so screenshot commands may be different
depending on the phone's manufacturer. Most Android devices should be able to take screen grabs by
holding down the power and volume down buttons, though holding the power and home buttons (if
your device has a physical button) may also work. Devices running Android 10 can also hold down the power
button, then select Screenshot from the menu.
Several Android devices also have a screenshot button in the pull-down Quick Settings menu. If your phone
has Google Assistant or Bixby (Samsung), you can use a voice command to ask the voice assistant to take a
screenshot for you. For Samsung devices with the S Pen stylus, you can take a screen grab from the Air
Command menu by tapping Screen Write. You can then write on or crop the image.
Buttons on the Google Pixel 4
ADVERTISEMENT
Samsung phones also support gestures to take screenshots. Navigate to the screen image you like, position
your hand like you plan to karate chop the phone, then swipe the entire side of your hand along the screen
from right to left. Set this up (or turn it off) inSettings > Advanced Features > Palm swipe to capture.
No matter what device you have, all Android users can download third-party apps to take screen captures.
Many apps meant for recording video can also take screenshots. Screenshot Easyis a top-rated option that
uses the same basic triggers as Android itself; you can also customize it and take a screenshot just by
shaking your phone.
To take screens of what's transpiring on your Android device on a PC, check outApowersoft's Android
Recorder. The app lets you cast your phone or tablet screen to a Windows or macOS machine for easy
capture of stills and video. It requires Android 5.0 and above.
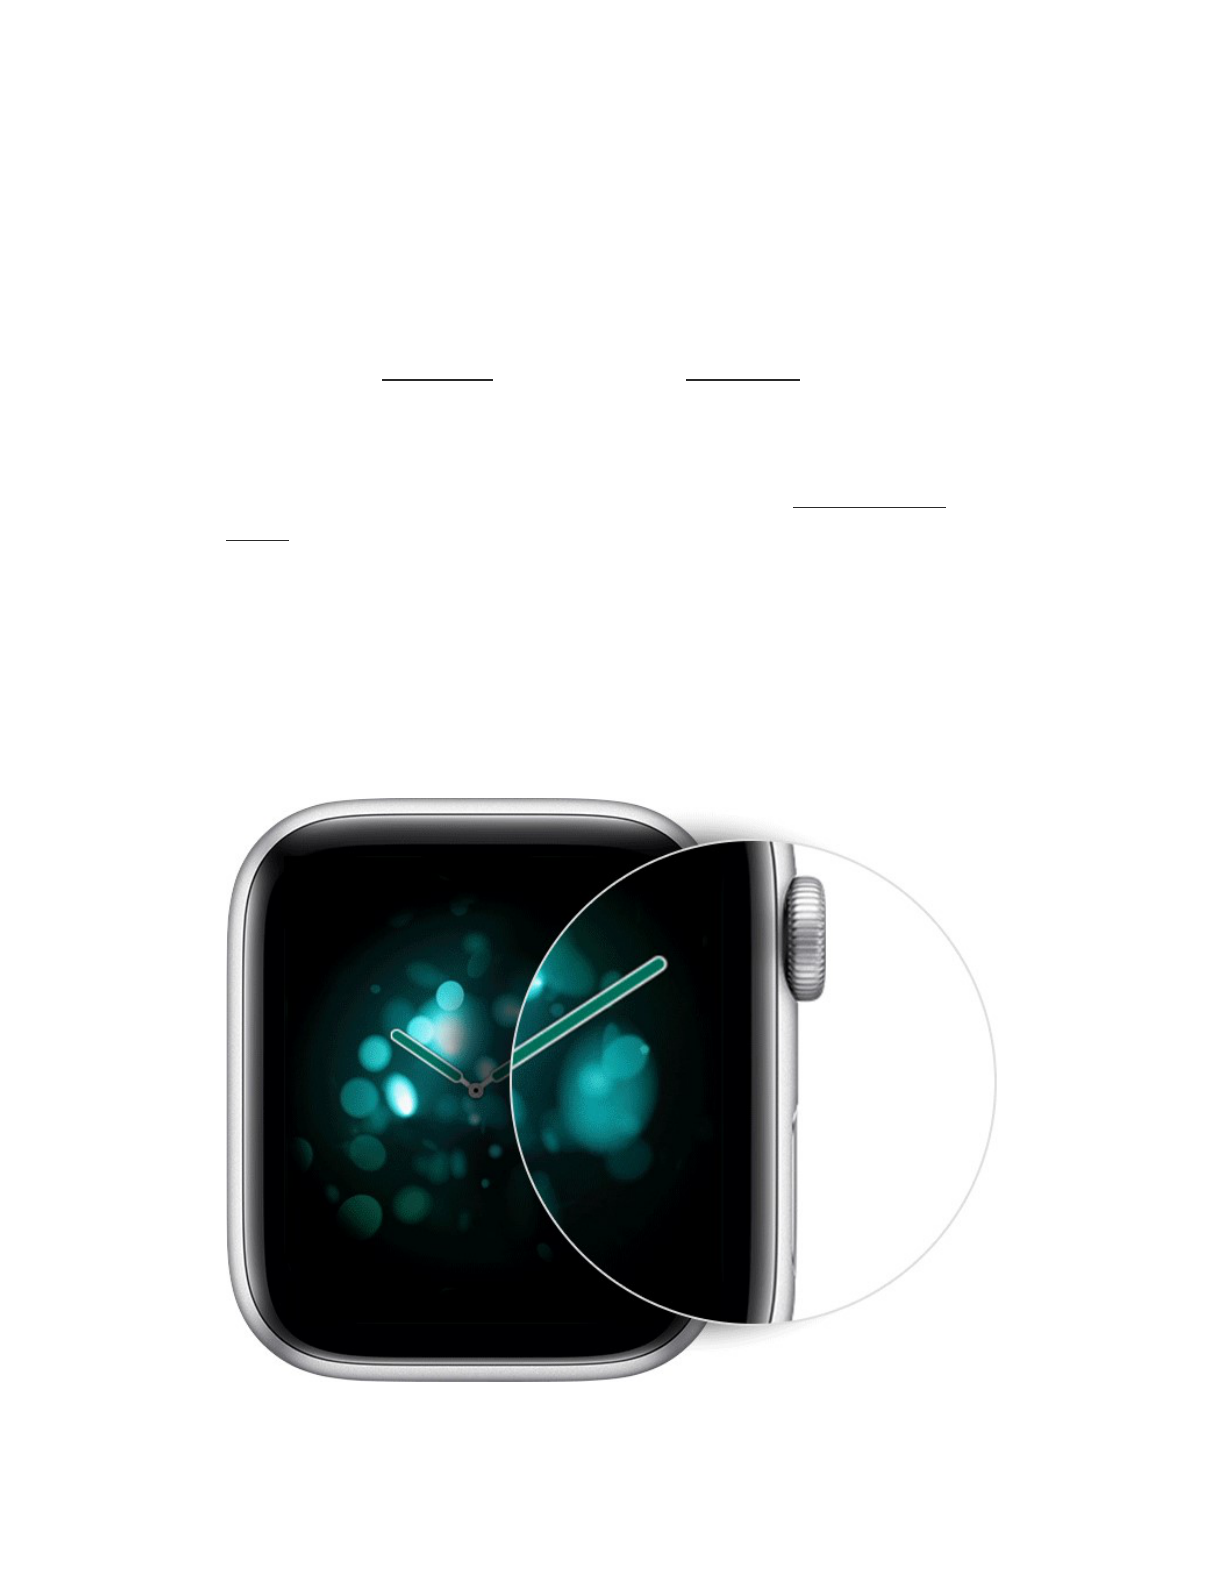
How to Take a Screenshot on Apple Watch
Did you know you can take a screenshot of your Apple Watch screen? First, the feature must be enabled.
Open the Watch app on your iPhone or iPad, and navigate toMy Watch > General > Enable
Screenshotsand toggle it on.

Take a screenshot on an Apple Watch by pulling up the screen you want to capture. Hold the Side Button
and click the Digital Crown simultaneously. Like on iPhone, the screen will "flash" white and the camera
shutter will go off. The screenshot will then appear on your iPhone Camera Roll, not the watch itself.
How to Take a Screenshot on Wear OS
If you have a smartwatch made by Fossil, Huawei, Motorola, or Samsung, it runs on Google's Wear OS.
Taking a screenshot on your Wear OS device is now much easier than it used to be because you use an app
on your phone to do the work.
Open theWear OS app, hit the three-dot menu and choose Take screenshot of watch. You will receive a
notification on your phone allowing you to save or share the image via the supported apps.
How to Take a Screenshot in Windows 10
The simplest way totake a screenshot in Windowsis to use the Print Screen button. You'll find it on the
upper-right side of most keyboards. Tap it once and it will seem like nothing happened, but Windows just
copied an image of your entire screen to the clipboard. You can then hit Ctrl+V to paste it into a program, be
it a Word document or an image-editing program.
ADVERTISEMENT
The problem with this method is it captures everything visible on your monitor, and if you have a multi-
monitor setup, it will grab all the displays as if they're one big screen. You can narrow things down with
Alt+Print Screen, which will capture just the window you currently have open.

Windows also has multiple built-in tools that can help you take more precise screen grabs. The Snipping Tool
can be found in the Start menu, which will provide a small toolbar to capture multiple types of screenshots.
Grab just the area you want with a rectangular capture area, select a specific window to capture, or get the
entire screen in one shot. Once a screenshot is taken, it is moved to the Snipping Tool editor, where you can
save and edit the image.
Another option is Snip & Sketch, which was introduced with the Windows 10 May 2019 update and is
expected to eventually replace the Snipping Tool. Launch this program by using the Shift+Windows Key+S
keyboard shortcut. This will launch a small toolbar at the top of the screen so you can easily choose what to
capture.
Snip & Sketch toolbar
ADVERTISEMENT
Visit our dealership in the
Western Washington area.
Special offers
One more built-in option for screen grabs is the Windows Game Bar. Though it is intended to record gaming
sessions, it can be used to record any action and capture screen grabs. Open the tool with Windows Key+S

and tap the camera button in the Broadcast & capture section to save a screenshot to the Videos/Captures
folder under your main user folder.
If all that fails, Windows has anarray of third-party screen-capture utilities available. The best option isSnagit,
which costs a whopping $50. Of course it'll do everything you can imagine, even take video of what's
happening on your screen.
You can find plenty of screenshot apps for free, though.Jing, by the makers of Snagit, also does screencast
videos and makes sharing what you capture easy.LightShotis a nifty and small utility that takes over the
PrtScrn key and makes it easy to capture and share.
How to Take a Screenshot on Mac
Following the update to Mojave, Mac users now have more control over grabbing screenshots than ever
before. The update introduced a screenshot tool that can be triggered by pressing Command+Shift+5, or by
navigating toLaunchpad > Other > Screenshot.
The screen capture window allows you to perform different actions. Choose to capture the entire screen, part
of the screen, or a specific window. You can also capture video of the entire screen or just a portion of it, and
there's also the option to take screenshots on a timer and change where images are saved.
For those who prefer keyboard shortcuts, those are still supported. Use Command+Shift+3 to capture the
entire screen. If you only want part of the screen captured, Command+Shift+4 will turn the cursor into a
cross-hair. Select the section of the screen you want to capture.
If you want to capture a specific window, use Command+Shift+5 (the same shortcut to trigger the
screenshot tool). You can then hit the Space Bar to switch between capturing a section of screen and a
specific window. If you have a Mac with a Touch Bar, you can capture it by pressing Command+Shift+6.

ADVERTISEMENT
If you prefer to capture an image to the clipboard instantly, add Control to any keyboard shortcut you use.
For instance, use Command+Shift+Control+3 to capture the entire screen, or Command+Shift+Control+4
for a specific section. The image won't save to the computer, but it can be pasted into an app.
If you've got a Mac with Retina display, a screenshot of the entire screen can behugein PNG format—as big
as 7MB. If you'd rather the Mac save in JPG or some other format, change the settings. You need to open a
terminal window on the Mac in question and type:
defaults write com.apple.screencapture type jpg
Enter your password if asked, then restart the computer and future screenshots should save in the preferred
format you specified. You can always change it back by typing the above command with PNG at the end
instead.
If you prefer a third-party solution, options likeSnappy(which can sync screenshots with theSnappyApp for
iOS), Jing, Snagit,Skitch, LightShot, and others are available.

How to Take a Screenshot on Linux
There are almost as many ways to take a screenshot in Linux as there are flavors of Linux. Focusing on
Ubuntu in particular, open the Activities menu and select Screenshot. You can then choose between the
whole screen, a single window, or a custom area before snapping an image.
Linux also allows you to use the Print Screen button, as well as the Alt+Print Screen shortcut to screenshot a
specific window. Use Shift+Print Screen to select a custom area to capture. You can also add the Ctrl key to
any shortcut and save the image to the clipboard.
The programGIMP(GNU Image Manipulation Program) allows you to take a screenshot from the same
program where you edit the image after it's captured. Open GIMP and go toFile > Acquire > Screen Shot.
You'll get a few options, such as taking the entire screen, a window, or using a time delay. The captured
image then opens in GIMP for editing.
How to Take a Screenshot on Chromebook
If you own aChromebook, you can take a screenshot with help from the laptop's Window Switch Key. This
button is located at the top of the keyboard and has an image of a box with lines next to it. Hit Ctrl+Window
Switch Key to take a full-screen snapshot. You will see the notification on the lower right of the screen.
ADVERTISEMENT
The Volkswagen
Community-Driven Promise
Putting you in the driver's seat
Find inventory
Enter Ctrl+Shift+Window Switcher to get just a section of the screen. The cursor becomes cross-hairs you
can use to select what you'd like to capture.

If you're using a standard keyboard—not a Chromebook keyboard—you won't see a Window Switcher
button. You'll need to Ctrl+F5 and Ctrl+Shift+F5 instead. When using your Chromebook in tablet mode, you
can take screenshots without the use of the keyboard. Press the power and volume down buttons to snap a
picture, though this method can only be used to capture the entire screen.
All the images are saved as PNG files on the computer's local Downloads folder. If you wish to preserve
these screenshots permanently, you must upload them to Google Photos or back them up in Google Drive.
Since 90 percent of what you do on a Chromebook probably takes place in the Chrome web browser, you
can also utilize a number of Chrome extensions.
Screenshots in Web Browsers
Chrome, Firefox, Safari, and Edge all support add-ons that extend browser usability. Here are a few programs
you can download that have browser extensions. Use these add-ons to put screen-capture utilities right into
the browser.
• LightShotis free and works on Windows and Mac, but can also be added asChrome and Firefox
extensions.
• FireShotis a paid ($59.95) capture program that works with a browser or email client. It will capture and
allow instant edits, sharing via social media, or instant saves to the computer. There are
alsoChrome,Firefox,and Edgeextensions
• Awesome Screenshotis a free program that captures a whole page or a section, and then quickly
annotates it (or blurs out the naughty bits) before sharing instantly. There are extensions
forChrome,Firefox, and Edge.
• Nimbus Screen Screenshotis free and will let you capture the whole screen or just parts of it. You can
also use it to draw, make annotations, or mark up those same images. There
areChromeandFirefoxextensions.
• Page Screenshot is a paid ($2.99) extension for Safari users that can capture the full length of a website
or just a specific section. Once a screen grab is taken, the program opens Preview for easy editing.
AROUND THE W EB
Powered by ZergNet

Video Games You Should
Never Play in Front of Your
Kids
SVG.com
Why Netflix Is Going To Start
Canceling Customers'
Subscriptions
PCMag.com
Here's Why You Should Stop
Charging Your Phone
Overnight
PCMag.com
Science Reveals What Really
Happens When a Man Grows a
Beard
Grunge.com
Horror Games That Are
Worthy Of Play Anytime Of
Year
Gameshedge.com
What Is USB-C? Here's a Good
Explanation
PCMag.com
• 20 Tips for Working From Home
• Relive the '90s With Facebook's E.gg App
• Google Adds Biometric Security Checks and Touch-to-Fill to Chrome
• Working Longer Hours During Quarantine? You're Not Alone
• More in Android
• More in Software & Services
• Zoner Photo Studio X
• LogicMonitor
• Mubi
• Bitdefender Antivirus for Mac
• Skylum Luminar
• The Best VPN Services for 2020
• The Best Online Music Streaming Services for 2020
• The Best Reseller Web Hosting Services for 2020
• The Best Cloud Web Hosting Services for 2020
• The Best VPS Web Hosting Services for 2020
About Jason Cohen
FURTHER READING
SO F T WARE & SERVICE REVIEWS
SO F T WARE & SERVICE BEST PIC KS

Jason is PCMag's how to content generator. He believes tech corporations are bad, but you might as well know how to use
technology in everyday life. He is a Mac owner, Android user, dark mode advocate, and tech bargain hunter. Before joining
PCMag, Jason was a technical writer, copywriter, and all-around freelancer covering baseball, comics, and more at various outlets.
When not writing and editing, he is either reading comic books, playing his Nintendo Switch, hanging out with his wife and two cats, or
some combination of the three.
Read the latest from Jason Cohen
• Working Longer Hours During Quarantine? You're Not Alone
• Apple Acquires More AI Startups Than Any Other Tech Company
• #BlackLivesMatter Hashtag Averages 3.7 Million Tweets Per Day During Unrest
• In the Age of COVID-19, Square Is Bigger Than Most Banks
• Looking for Minecraft Alternatives? Try These Sandbox Creation Games
• More from Jason Cohen
Get Our Best Stories!
Sign up for What's New Now to get our top stories delivered to your inbox every
morning
Enter your email
Sign
Up
This newsletter may contain advertising, deals, or aliate links. Subscribing to a newsletter indicates your consent to our
Terms of Use and Privacy Policy. You may unsubscribe from the newsletters at any time.
PC Magazine Digital Edition
Get 67% O Newsstand
Price
PCMag Newsletters
Our Best Stories in Your
Inbox
Follow PCMag
HONEST, OBJECTIVE REVIEWS
PCMag.com is a leading authority on technology, delivering Labs-based, independent reviews of the latest products and
services. Our expert industry analysis and practical solutions help you make better buying decisions and get more from
technology.
How We Test Editorial Principles
Reviews Best Products Categories Brands Events Series Encyclopedia Sitemap

About PCMag Careers Contact Us Press Center
© 1996-2020 ZIFF DAVIS, LLC. PCMAG DIGITAL GROUP
PCMag, PCMag.com and PC Magazine are among the federally registered trademarks of Ziff Davis, LLC and may not be used by third parties without
explicit permission. The display of third-party trademarks and trade names on this site does not necessarily indicate any affiliation or the endorsement of
PCMag. If you click an affiliate link and buy a product or service, we may be paid a fee by that merchant.
About Ziff Davis Privacy Policy Terms of Use Advertise Accessibility Don't Sell My Personal Info
AdChoices
